
Physical devices are cool and all, but how cool would it be to create virtual mobile infrastructure and install mobile applications on it. Better yet, how cool would it be to be able to do this, and also be able to redirect all the web traffic to the proxy of your choice for manual inspection and fuzzing? Well, the good news is, you can do this with BrowserStack and BurpSuite.
What is BrowserStack
BrowserStack.com is a platform that allows developers to test their applications on over 300+ platforms. BrowserStack offers a web version of their platform, which is useful if your a web application developer, but they also offer a mobile version of their platform, which is obviously useful if you’re a mobile application developer….or in our case, a web penetration tester. BrowserStack has a ton of cool tools and features such as network analysis, Development Consoles, and just about every logging feature a developer could want to see. The platform we are going to be using during this post is called App Live (app-live.browserstack.com).
The Platforms
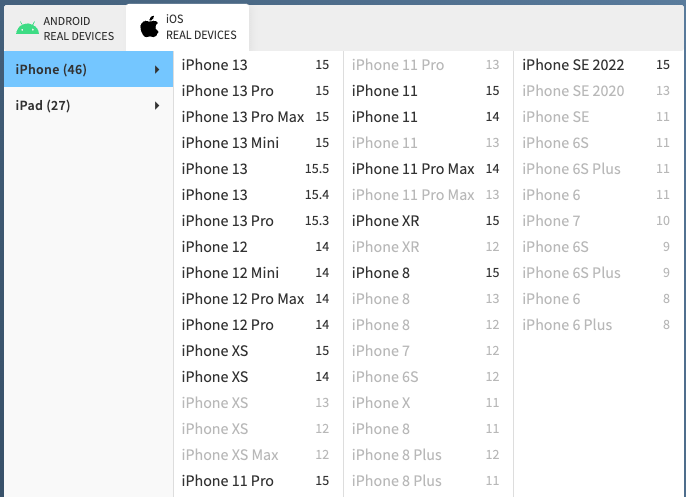
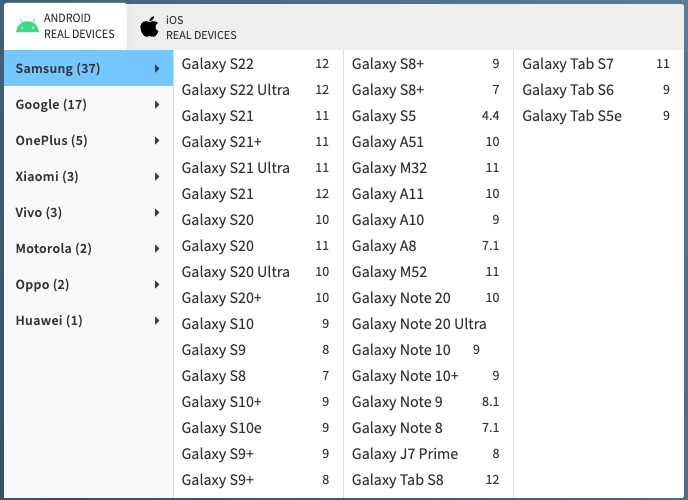
BrowserStack contains virtualization for over 50 Android devices and over 70 iOS devices. BrowserStack also claims that none of their devices are emulations, each instance is a physical device that you are performing testing on.
Note: that BrowserStack does not support jailbreaking, so you need to go elsewhere if you’re trying to perform static or dynamic analysis of a mobile application.
Let’s launch an iPad Pro 12.19 from 2021. Launching happens in seconds and, when launched, you get a slew of very convenient options. These most of these are very self explanatory.

To begin proxying the iPad traffic to Burp Suite, you’re going to need to create a tunnel from your local network to the BrowserStack cloud network. This can be done by using the “BrowserStack Local” plugin, which can be installed from your BrowserStack dashboard or by clicking on the “Force Local” on the top of the screen and following the directed guidance (mine says ON because it’s configured, but yours will say OFF).

Once installed, you’ll need to access the BrowserStack Local options which can be done by navigating to http://localhost:4545. Once here, you’ll need to configure the proxy server to the settings of your Burp proxy. A screenshot of my configuration with some notes is shown below.

- Proxy Details should align to the internal IP address where burp is installed. Note that you will need to create another burp proxy listener in the Proxy > Options tab. Click Add, add Bind Port to 8082, and then select the Specific Address radio button and select your internal IP address from this list.

- Force Proxy ensures that all web traffic is being forced through the proxy (in our case, Burp Suite).
- MITM Proxy enables us to intercept traffic without breaking everything.
Once this is done, click update at the bottom of the screen and you can test to make sure it’s set up properly by navigating to a web site of your choosing. This should populate the HTTP history tab on Burp.

Once this is done, you can install any application you want either from the Apple Store or upload a .ipa file. When the application makes requests, this will be proxied through your local Burp Suite. The same can be done with Android as well. Enjoy!


